OpenCms
knowledge base
Inserting images
Preparing the image
1. To insert an image within a text page, ensure that the image is sized to approximately 550 pixels max in width (the height is negligible), depending on your website layout:
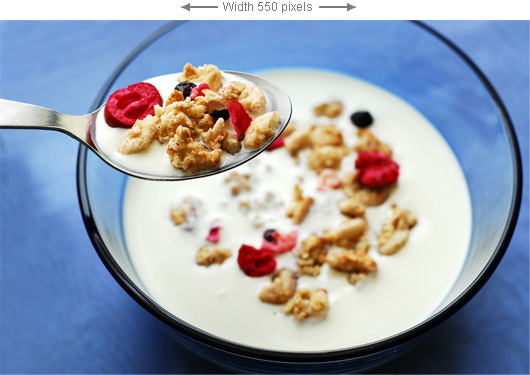
This ensures that the image fits neatly in a standard content page.
2. Save the image to JPEG format and give it a descriptive name that will help you identify it later on. This is important for search engine optimization:
| Correct names for image files |
Names to avoid |
| breakfast-bowl.jpg | IMG_2848.jpg |
| catering-services.jpg | P9190006.JPG |
Loading the image
1. Next, load the image to the site. Open the images folder on the site and a relevant image sub folder (eg. main).
Hint
To create a new image sub folder on the site for a particular category of images, follow these steps:
a. Open the images folder on the site and press New ( ) in the Explorer Menu at the top.
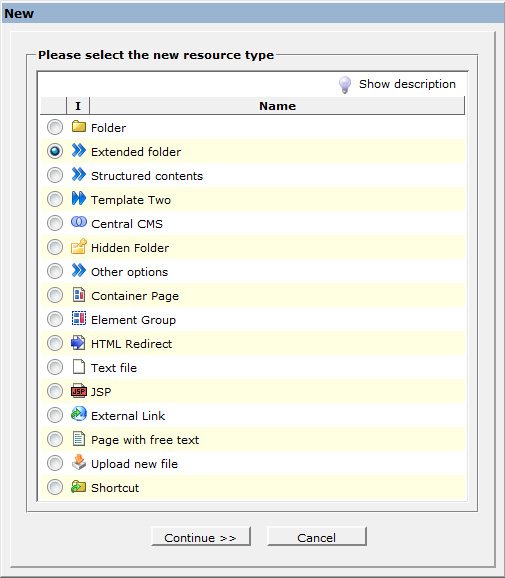
b. From the pop up that appears, select Extended folder and click Continue.
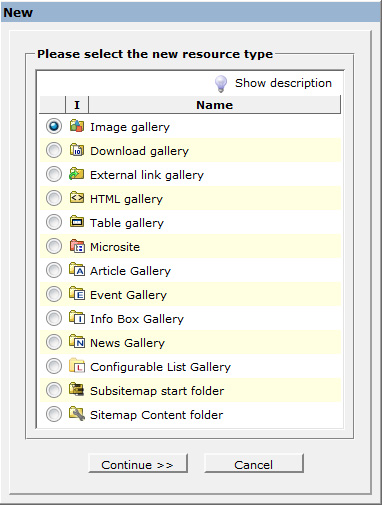
 c. Next, select Image gallery and click Continue.
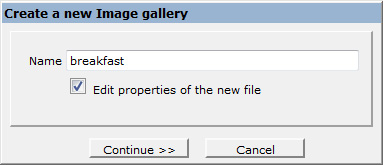
 d. In the following screen, enter the name of the new gallery in lower case, separating multiple words with dashes. Leave the other default settings and press Continue.
 e. Next, enter a detailed image gallery title for your reference. This can include spaces and be capitalized. Press Finish.
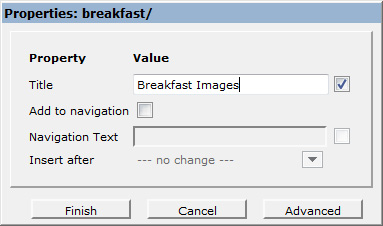 f. The image gallery has now been created. Simply open to upload files.
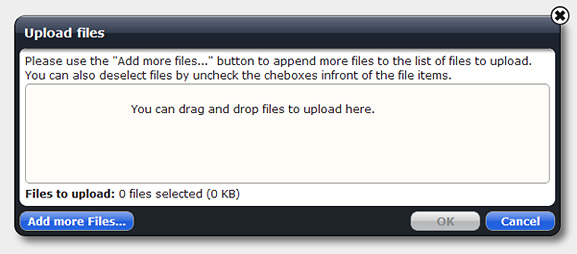
2. Once in the image folder, press Upload ( ) in the Explorer Menu at the top.
3. Drag and drop the prepared image(s) from your hard drive into the upload dialog and press Ok. The images will be loaded!
 Inserting images in the editor
1. Next, edit the page where you would like to insert the image.
2. Place the cursor where you would like to insert the image on the page. If the image will be unwrapped (ie. not be left or right-aligned with text), it's easiest to create a new empty paragraph line where you would like to insert the image.
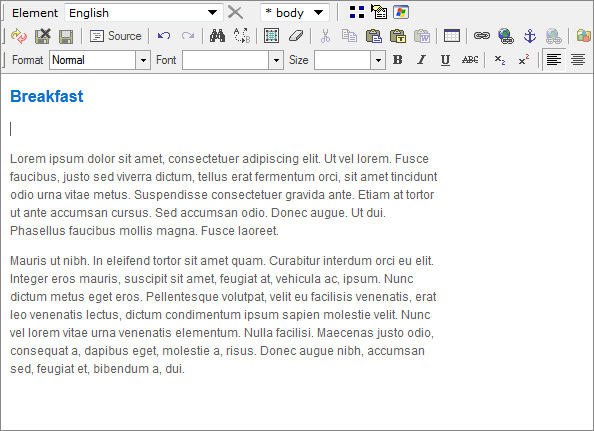
3. Next, press the image gallery button at the top ( ). It may take some moments for the list of galleries to appear.
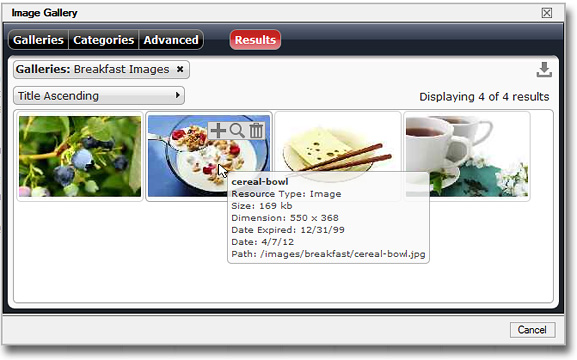
4. From the dialog that appears, tick the the galleries you would like to view (eg. Breakfast Images in this case) and press the red Results ( ) button at the top:
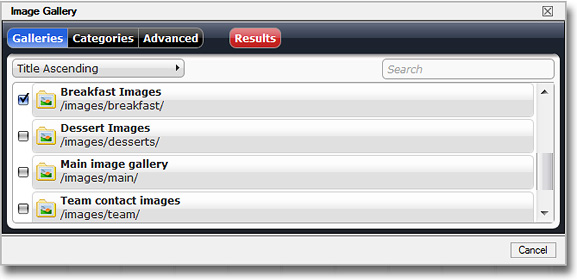
5. You will see available images in these galleries with details appearing on hover.
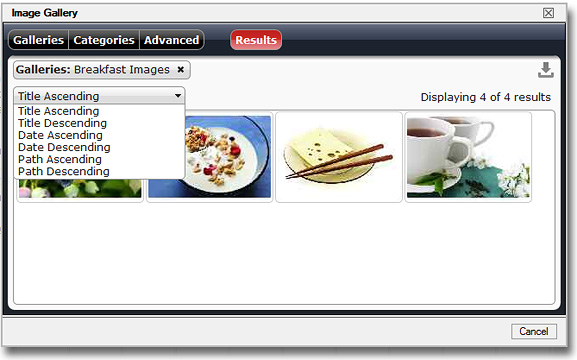
6. When you have a large selection of images to browse through, you can use the ordering drop down to filter results by Title, Date or other attribute:
7. To quick-insert an image with default settings, press the plus icon ( ). To preview images and make edits (recommended), press the preview icon (
 ). You can also delete images (
 ) directly from this screen.

Hint
If needed, you can upload images directly from this screen by pressing the upload icon ( ) in the top right corner. It may take some moments for the loaded image to appear.
Previewing and editing images
1. In most cases you will adjust some image properties before inserting the file on the page - whether the image is left-aligned with text or unwrapped, whether the image links to a particular resource etc. To do so, press the preview icon ( ).
).
2. In the next screen you can edit image specifications. Here is a description of options per tab.
a. Properties tab
The (first) properties tab summarises the upload file name. Do not make changes in this screen: 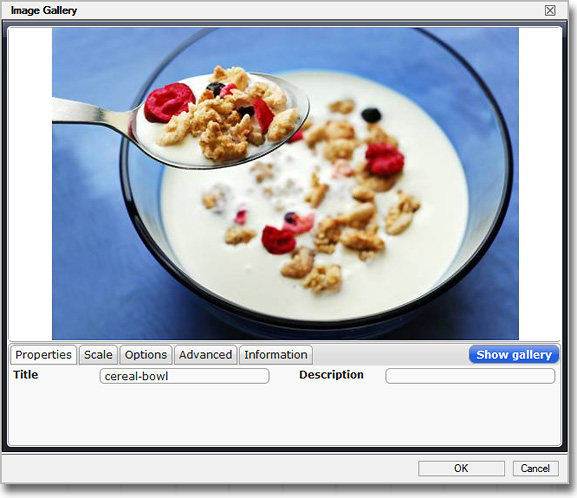
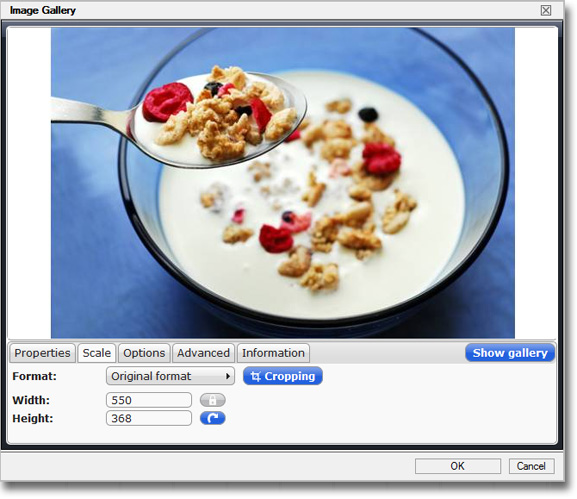
b. Scale tab
The scale tab allows you to crop images or scale them to preset dimensions. If you have prepared images beforehand you can skip this tab.
c. Options tab
The options tab allows you to set the Title and Alt-Text for the image in one field. This text appears when hovering over the image (in the preview screen) and is used by search engines as a description of the file. Update and flesh out the Title / Alt-Text field with details.
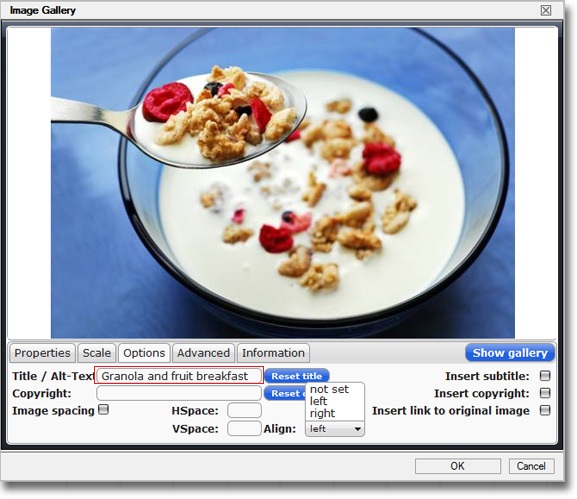
You can optionally add image spacing in pixel dimensions. The following settings, for example, will add 5 pixels of white space around the image vertically (VSpace) and horizontally (HSpace) when placed next to other objects or text content on the page.

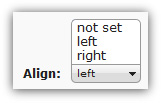
Use the Align drop down to set the alignment of the image in relation to other content as not set (unwrapped), left aligned or right aligned. By default, images are left-aligned with text.
d. Advanced tab
To link an image to a particular page or resource, use the URL field. Click the Browse button on the right to open the site navigation structure and click a particular file destination to link to. You can also type an external web address in the field (remember to start with http://):
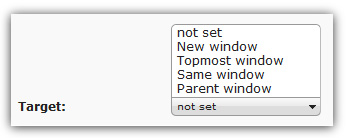
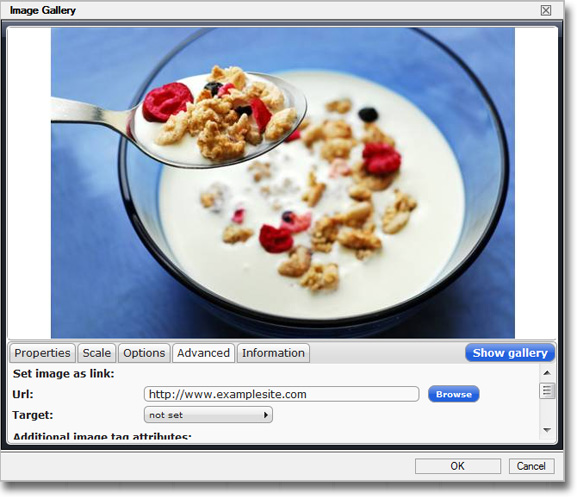 When setting links, define whether the link Target should open in a new window or the same window. The norm is new window for external links and same window for internal links.
  You can also scroll down in this tab to enter specific image Style classes:
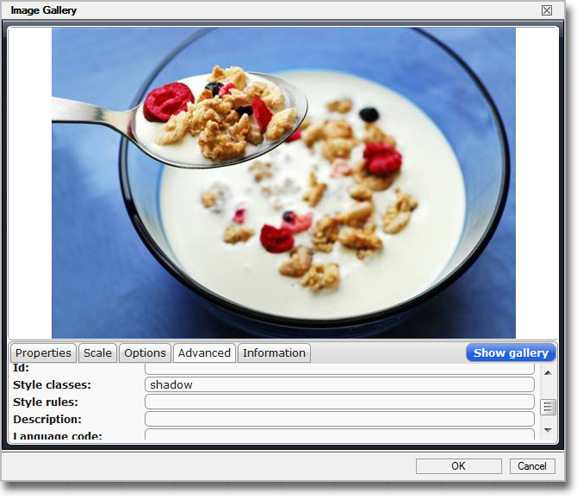
e. Information tab
The information tab simply summarises image specifications after edits.
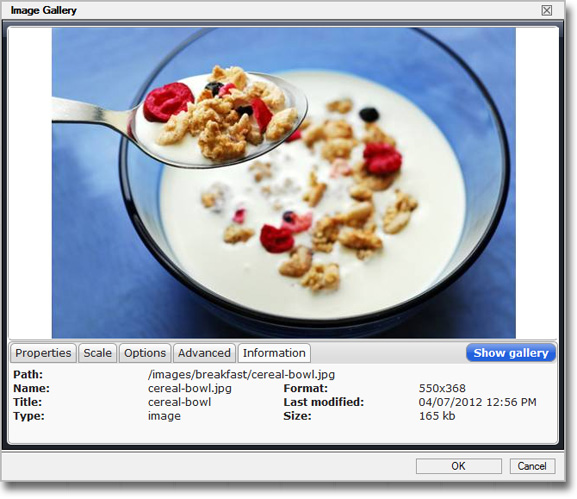
3. When you are happy with edits, press OK. The image now appears in the text editor.
Hint
Hover text and image links can only be tested in the preview screen after saving a page.
4. If you need to make image edits later on, simply right-click the image and select Image Gallery from the drop down. You can then return to the image edits screen.
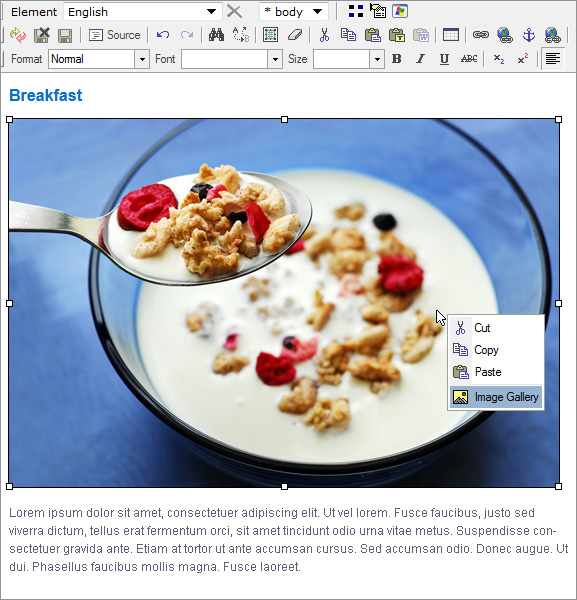 5. If needed, you can also click an image and resize it by dragging the corners within the editor (this works best in Firefox). The new image dimensions appear as hover text when dragging (eg. 465 x 310 pixels):
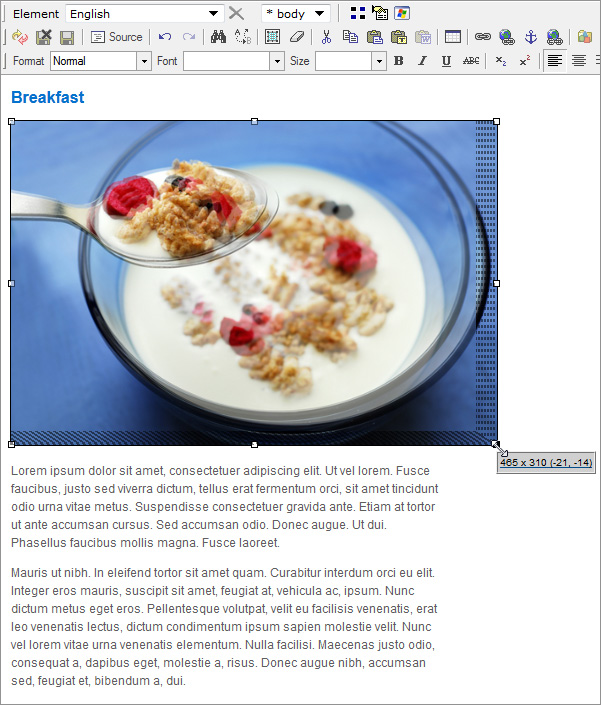
6. When you are done with edits, save and close the page ( ) and test the image link (if applicable) and hover text in the preview screen.